

All of this Internet marketing will never be easy unless you are organised. We are going to show you the ideal system. This makes it fastest, and easiest to move forward. Follow These Steps:
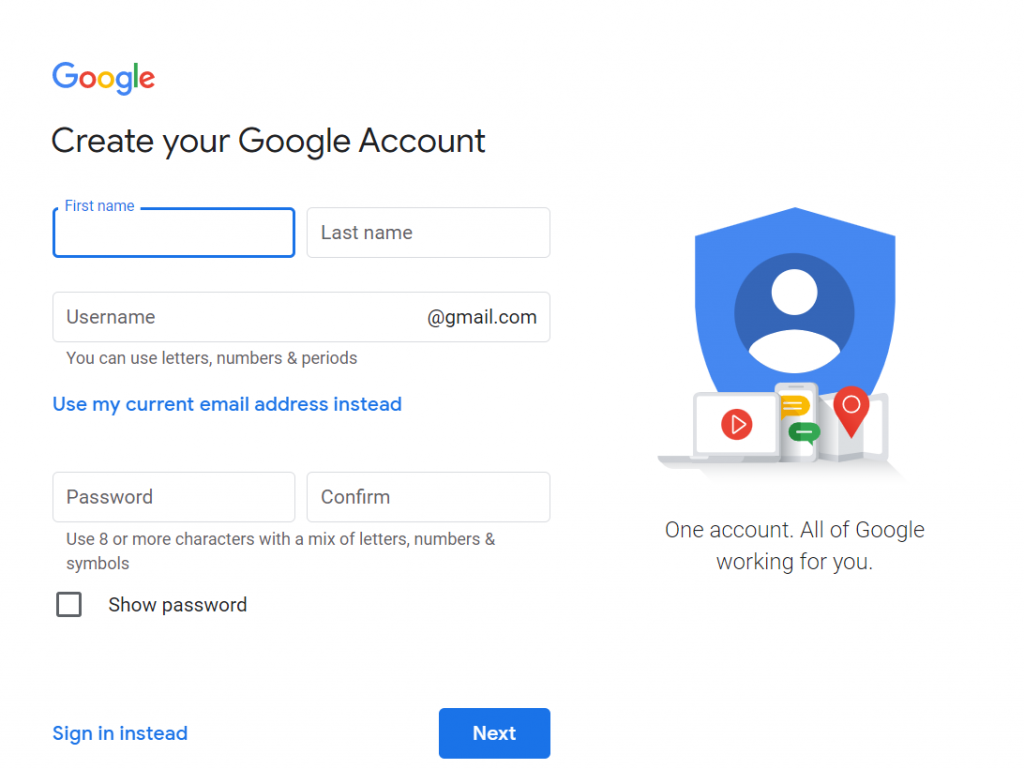
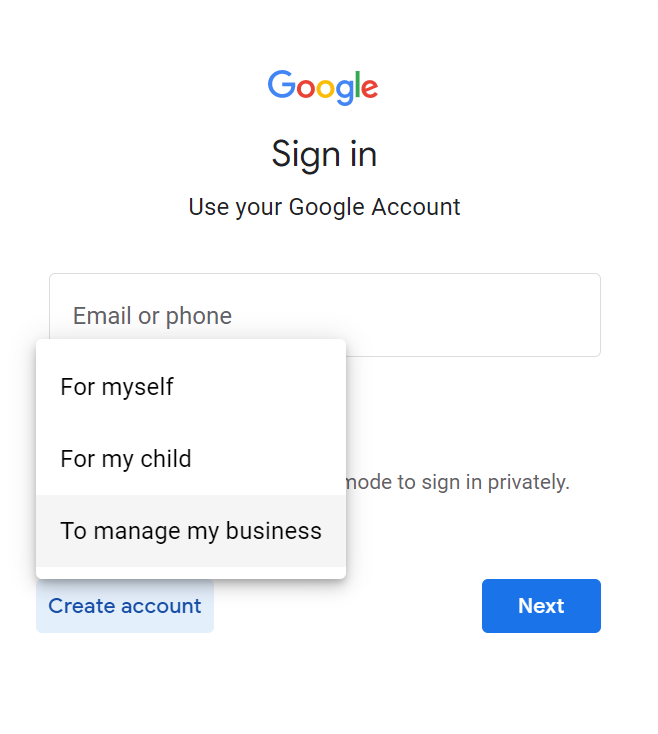
When you create a Google Account for your business, you can turn business personalization on. A business account also makes it easier to set up Google My Business, which helps improve your business visibility and manage your online information.
When you create a Google Account, we ask for some personal info. By providing accurate info, you can help keep your account secure and make our services more useful.
You don’t need a Gmail account to create a Google Account. You can use your non-Gmail email address to create one instead.
If you forget your password or someone is using your account without your permission, updated recovery info makes it much more likely you’ll get your account back.
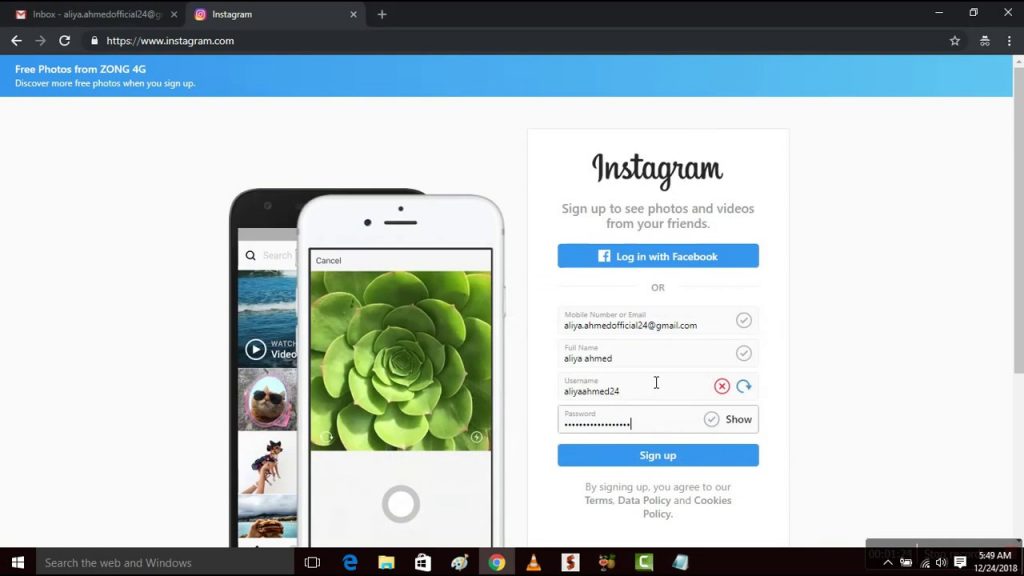
If you’ve never used Instagram, start by downloading the app. Instagram is available for smartphones, tablets, and computers through the Apple iOS, Google Play, and Windows app stores.
The app is geared toward mobile devices, and you’ll probably use a smartphone or tablet for most of your posting activity.
You can visit the Instagram website or use the app on a desktop computer if those options work better for you. However, some mobile features are not available or require special plug-ins to work for desktops and regular web browsers.
So, for the purposes of this guide, let’s focus on using the mobile app.
Launch the app, and create an account in one of two ways:
Already have an account? Just sign in, and go straight to your profile page.
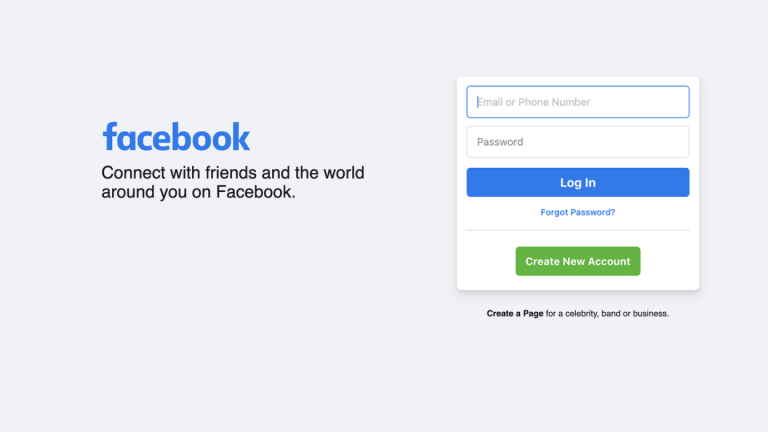
By default, you begin with a personal profile. To use Instagram for business, you have to connect your account to a Facebook business page. Click the profile icon at the bottom right of the screen.
At the top right corner of the page, open the settings menu. It appears as a vertical ellipsis in Android or a gear in iOS.
On the next page, scroll down until you see “Switch to business profile.” Click through the promo slideshow until you get a prompt to connect to Facebook. Select “Choose a page,” and set the page to “public.” Click “OK.”
Next, Instagram asks for permission to manage your Facebook pages. Look through the list of Facebook business pages you’ve already created. Select the right page, and click “Next.”
Only an admin on the account can complete this step. You won’t see the page if you’re just an authorized user.
To finish your profile, enter an email, phone number, and address for your business. You have to fill in at least one of these contact fields to proceed. Some information will be auto-filled if it already appears on your Facebook page.
Click “Done,” and go to your profile. A new graph icon should appear at the top of the Instagram app. This is your Insights page, where you can keep track of promotions and engagement stats.
At any time, you can go back to the profile page and switch back to a personal account.
If you haven’t already created a Facebook business page, you can do this at the same time. When you get the option to choose a page, select “Create one” at the bottom of the screen.
Set a title for your page, and choose the category that best describes your business. Some options include:
Pick a subcategory to help people find your page in searches. For example, if you used “local businesses” as a subcategory, you have options, such as bar, home improvement, or arts and entertainment. Click “Next.”
Go back to your profile page, and click “Edit your profile.” Here, you can add a photo, bio, and website link. If you switched from a personal account, consider changing the photo, name, and username to reflect your business. Using your brand’s logo and business name makes it easier for customers to find you on Instagram. You can make a logo in minutes if you don’t have a design yet.
The bio is an opportunity to put some branded language, links or hashtags in your profile. Check out how office supplier Staples uses the company bio for branding and promotion:
Together we make the workplace work. Shop our feed: like2b.uy/staples
Make a brief statement about what your business does or how you help customers. Keep in mind, you’re free to use a more casual tone on Instagram, even if your business is conservative.
From time to time, many brands change their bio to display fun announcements on the main page.
To sign in to YouTube, you’ll need to create a Google Account. A Google Account lets you use many YouTube features including Like, Subscribe, Watch Later, and Watch History.
Follow these instructions to create a channel that only you can manage using your Google Account.
Follow these instructions to create a channel that can have more than one manager or owner.
You can connect your channel to a Brand Account if you want to use a different name on YouTube than your Google Account. Learn more about Brand Accounts.
Learn more about using a channel with a business or other name on YouTube.
Go to twitter.com.
Click on Continue with Google.
A Choose an account pop-up box will appear.
Choose the Google account you’d like to use. If you don’t see the account you want to use, click on Add account.
Step 5
In the Customize your experience pop-up box, check whether you’d like to track where you see Twitter content across the web and click on Next.
Learn how to customize settings for your new account.


Picking your software is a super important decision. A mistake here leads


Social media is like online word of mouth. People share information and