There are many many other places you can be listed. Once you have gotten everything done above then you can look at these. Here are some good places to get listed.
Creating a Yelp Page for your New Business
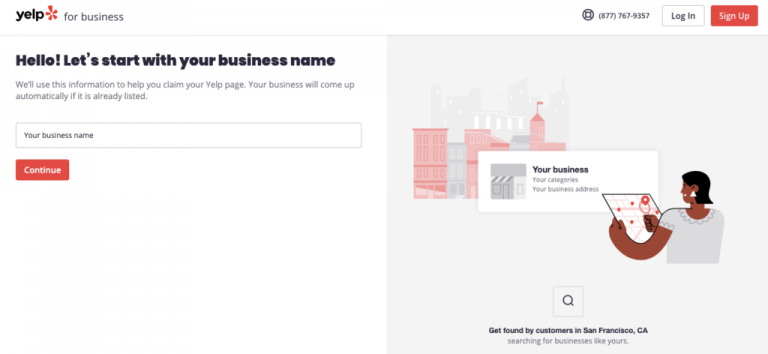
The best time to create a Yelp page is when you open for business. Although, you can submit a new page up to a month before your open date. Here are the simple steps:
- Go to www.biz.yelp.com/claim, and type in your business name. If you don’t see your business, click “Add to Yelp for free,” and fill out your business details.
- Create a free business user account by entering an email address and password. You should use an email address you check regularly to stay on top of what’s happening with your page.
- Verify your account by entering your verification code. You’ll get an email or call to the number listed on your page.
Follow the prompts in your account to complete your page, and be sure to avoid these common mistakes. You’ll be notified once your business page is verified which can take a few business days.
Managing your Yelp Page
Managing your Yelp presence is easier than ever with the tools provided to business owners.
- Add photos and customize your online storefront.
- Track your customer activity. For example, you can see when customers view your Yelp page or take secondary actions like call your business.
- Fill your page with business information such as hours, history, and specialties.
- Download the Yelp for Business app so you can track your traffic.
- Take a minute to respond to your new customers if they write you a review.
Business Listing On Foursquare
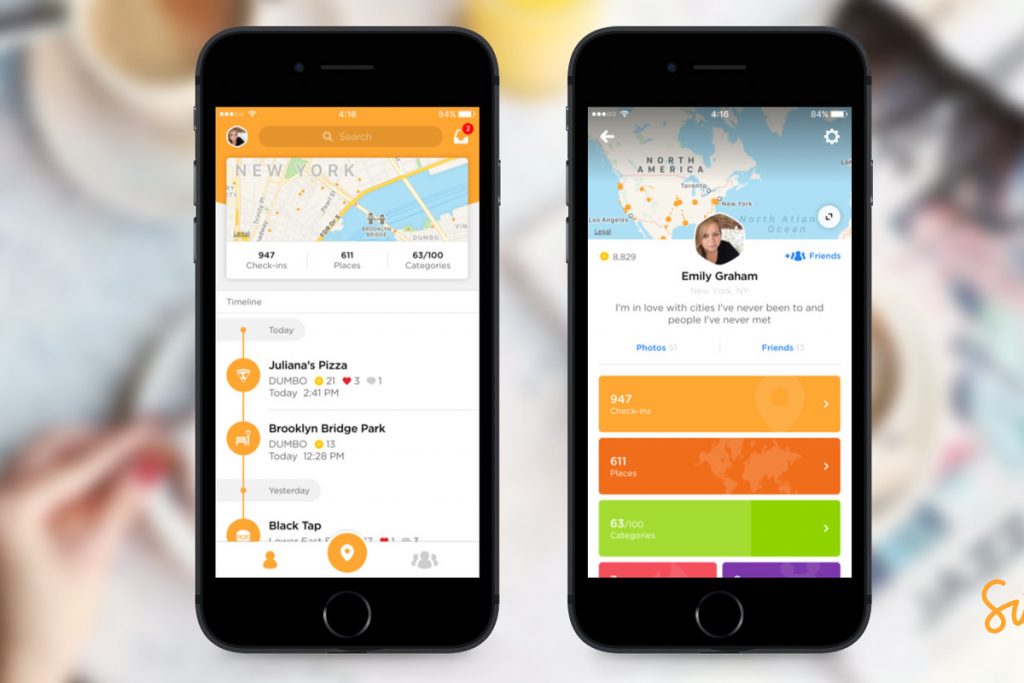
Claim your business listing and get access to Foursquare’s business tools.
- Consumers leave brief tips and photos at their favorite local businesses to let others know what they love most at each place. You can listen to what your customers are saying and use our tools to join the conversation.
Ninety-three percent of storefronts with local channels are on Foursquare (Venuelabs, 2013). Your customers probably listed your business already. You can claim it on Foursquare to take control of your listing.
How to Submit a Business Listing to Foursquare
Step 1:
Open your browser and goto https://foursquare.com/
and click on “Sign Up.”
Step 2:
You need to register first in order to create a listing on Foursquare.
To register, fill out the information fields and click “Sign Up.”
Step 3:
Go to your e-mail account and verify your account on foursquare.com.
Step 4:
Log in to your account and click on “Business” located at the bottom of the screen.
Step 5:
Input your business name and location and then click the“Search” button.
Step 6:
If you are not on Foursquare, you will not have a listing. To add your listing, click “Add My Business.”
Step 7:
Fill out the fields with your business information and click the “Save” button.
Step 8:
Congratulations! You have created your listing.
Openstreetmap.org
is a great place to get listed if you want a dot on the map. This map is used as the base layer map for thousands of websites.
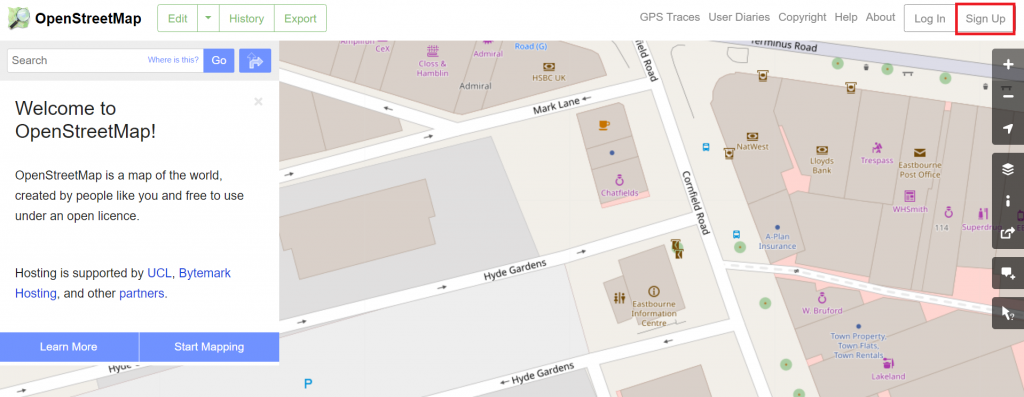
Create an account
To be able to make updates to the community OpenStreetMap, you first need to register an account to become an editor. In the upper right hand corner of the webpage, click the small button link that says ‘Sign Up’.
Choose a username and enter an email address. This username will allow your edits to be saved and other editors to contact you.
Select the Edit Button
Once you have logged into your OpenStreetMap account, zoom into the map and find your business location.
Select the Edit button on the OSM and choose the iDeditor tool (an in-browser editor).
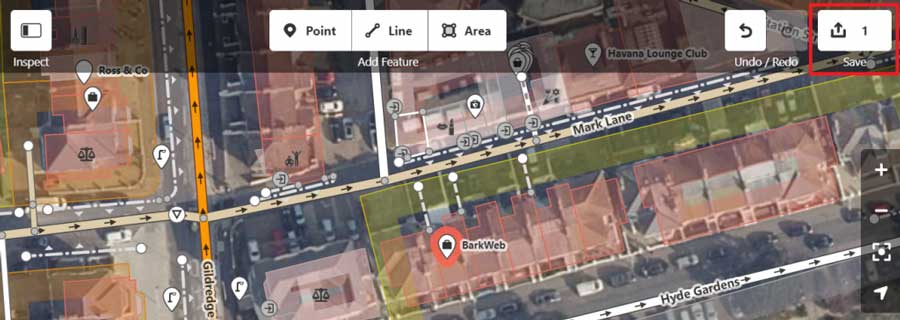
Add a point on the map
Once the iDeditor starts you will be able to add a point of interest (POI) to the map. By default you will see an Aerial Image of your area. We recommend keeping the default setting.
Locate your local business and add a point of interest in relation to it.
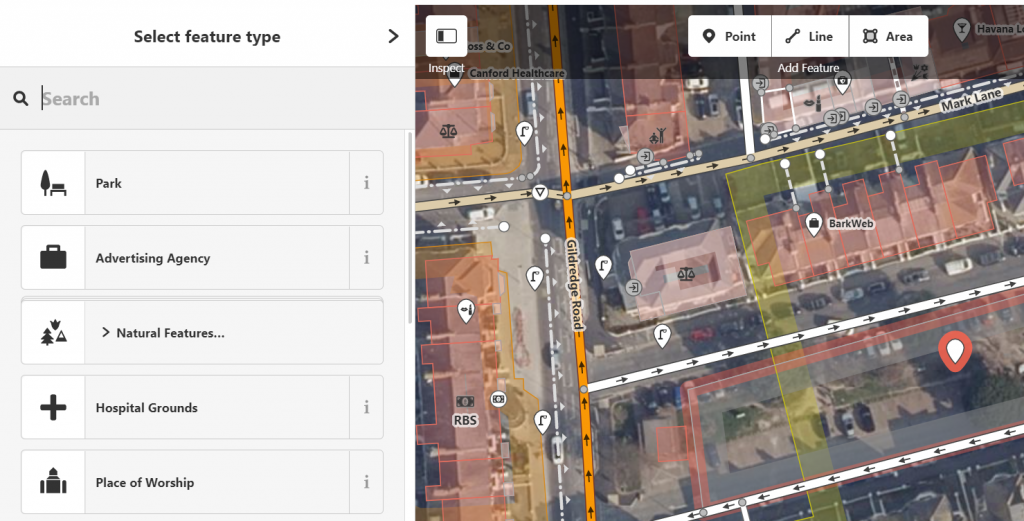
Choose your feature type
Once you add your point of interest to the map, you will be greeted with a feature type list on the left hand side of your screen. Pick the feature type that describes your business the best. If you cannot find your ideal feature type from the pre-shown list, try entering relevant keywords into the search bar above.
Enter your business information/fields
Once you find and select the feature type that best describes your business, you will then be asked to provide further information about that feature/point of interest (i.e. your business information).
The basic fields are name, address, working hours, pandemic working hours, telephone number and website address. However, these basic fields will vary depending on the feature you chose before.
Add additional fields
Many businesses may find these ‘basic’ fields insufficient however and may want to provide additional information regarding their company.
For example, some obvious choices are adding a ‘description’ field, as well as an ‘email’ field. These fields provide beneficial information regarding your business and it’s operations.
In order to add extra fields, navigate to the ‘Add field’ tab, which can be found under the ‘basic’ fields. The drop down menu will provide a number of suggested fields. However, if you’re after a specific field, just start typing in your required field and it will show up if it’s supported.
Save your Business Listing edits
After you’ve added all relevant business fields and have reviewed the information, you’re ready to save your listing and submit it to Open Street Maps!
In order to save your business listing, simply select the ‘Save’ button found in the top right hand of the screen. Alternatively, you can use the keyboard shortcut “Ctrl + S”.
Mapsconnect
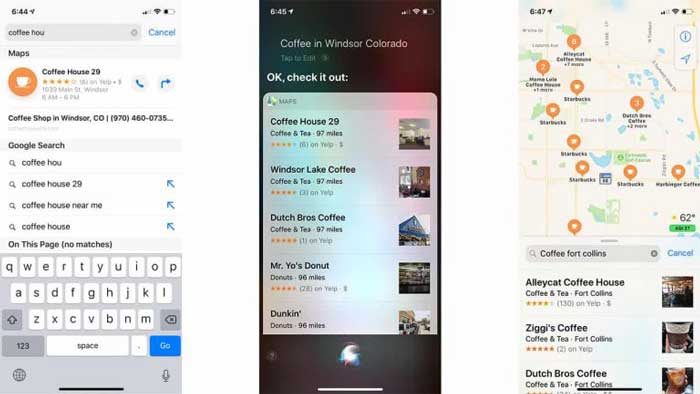
Here’s how to add your company to Apple Maps in eight quick steps:
GO TO HTTPS://MAPSCONNECT.APPLE.COM/:
- Log in with your Apple ID and password. If you don’t have an Apple ID, you’ll have to get one. There’s no way around it.
SELECT YOUR RELATIONSHIP TO YOUR BUSINESS:
- You’ll be prompted to do this on the Add a New Business Page, which you’ll be automatically directed to after you log in. You can either select “I’m the business owner or “I’m authorized by the business owner.”
ENTER YOUR BASIC BUSINESS DETAILS:
- This is where you key in your business name, primary business phone number and business address.
VERIFY YOUR BUSINESS PHONE NUMBER:
- You will be prompted to allow Apple to call the number you supply. The call will provide you with a PIN code from Apple. If needed, you can opt to “Verify Later.”
CONFIRM YOUR BUSINESS LOCATION:
- There are three categories to choose from, each with several business types within, from “Accountants” to “Video/Film Production” and just about every imaginable company type in between. If you don’t see a category that fits, you can suggest one.
CONFIRM YOUR HOURS OF BUSINESS:
- Demarcate the hours you’re open from Apple’s list of seven days and you’re set. If you’re open 24 hours, there are checkboxes for that, too.
ADD YOUR COMPANY WEBSITE AND SOCIAL MEDIA ACCOUNTS:
- Simply type or cut, copy and paste the URLs for them into the fields in the Add More Details section.
REVIEW YOUR BUSINESS INFORMATION:
To confirm that everything is kosher, click “OK” and you’re done. New listings should appear within Apple’s Maps app within a week at most. If additional verification is required, expect to hear from Apple soon.
Now you have your information, pictures, and videos organized and you are ready to set up your accounts.
Openstreetmap.org
Bing is owned by Microsoft and has Bing Places that works like Google Maps and Apple Maps.
Create (or Sign Into) Your Microsoft Account
Go to bingplaces.com and sign in to your Microsoft account. If you don’t have one, sign up for a free account. You can do this with an email address or phone number. After you’ve added all the necessary information (password, birthdate, confirmation code), you’ll solve a quick CAPTCHA test to prove you’re human.
Claim or Add Your Bing Places for Business Listing
Bing has two options for getting a Bing Places listing for single-location businesses: adding or claiming the listing manually, or importing your details from your Google My Business listing. There’s also a different process for companies with more than 10 locations, so be sure you choose the correct option for your business size.
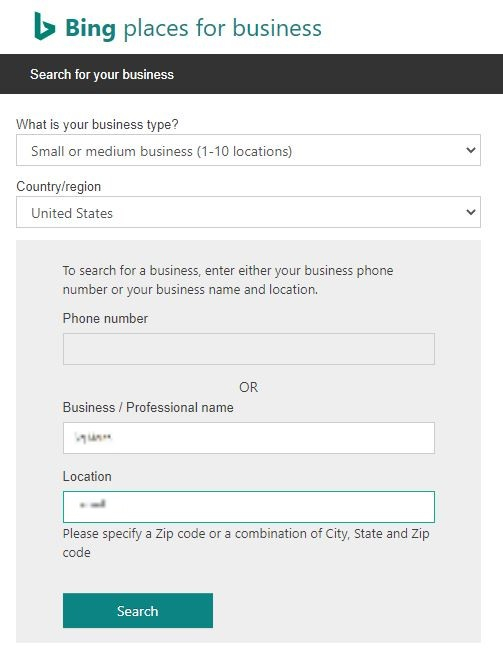
ADD CATEGORY & DESCRIPTION to Your BING PlLACES LISTING
Next, you’ll be prompted to choose your business type. If you’re not sure, you can choose the last option from the list of business segments and then type in your business category. Then, add your address, or if you don’t wish to display a physical address, you can hide your address.
Log in with your Apple ID and password. If you don’t have an Apple ID, you’ll have to get one. There’s no way around it.
VERIFY YOUR BUSINESS WITH BING
After you press the submit button, you’ll get a prompt to verify your business. If your phone number is registered as a business phone and Bing can verify that on its end, you’ll be able to verify by phone or text. If your business is too new, or you’ve not registered it yet as a business line, you may have to verify by post. The process could take up to a week to do.
ENTER YOUR BASIC BUSINESS DETAILS
This is where you key in your business name, primary business phone number and business address.
VERIFY YOUR BUSINESS PHONE NUMBER
You will be prompted to allow Apple to call the number you supply. The call will provide you with a PIN code from Apple. If needed, you can opt to “Verify Later.”
Moz Local
Online marketing: a necessity for all local businesses
Not so long ago, local business owners had a set of offline publicity options, such as paying for Yellow Pages inclusion, advertising in the local newspaper, print marketing in the form of brochures and coupons, postal mail marketing, telemarketing, and local radio/television buys. All of these are still viable options in many industries. But while some offline avenues have become optional, Internet marketing is now a necessity for every single local business. If a business can’t be found on the web today, it’s akin to being “nowhere.”
Yext For Business Listing
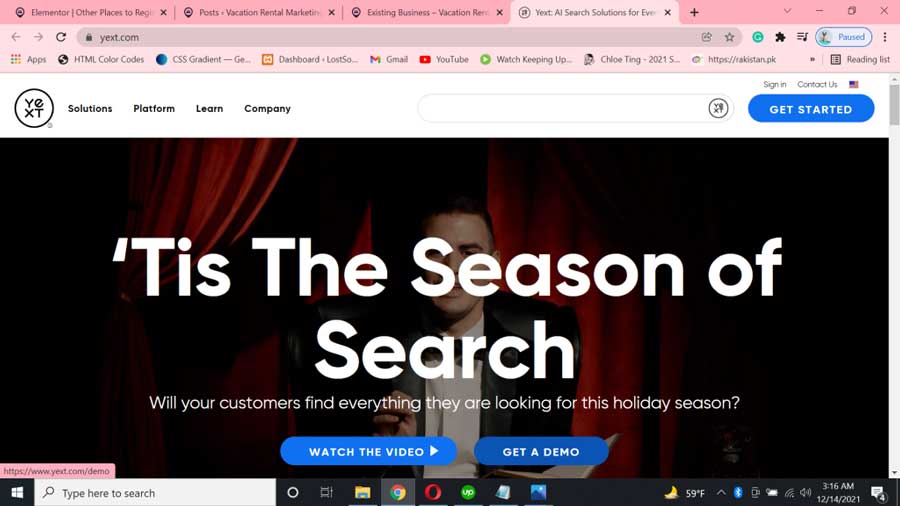
In addition to the first-party experiences you can build on the Yext platform, Yext also boasts a network of ~200 third-party publishers to push your brand’s data to. Powered by dual-sync direct API integrations, you can showcase rich content like name/address/phone number, as well as images, publisher-specific fields, and more.


